Hot Cross Buns are a delightful and historic treat that have been enjoyed for centuries, particularly around Easter time. These sweet, spiced buns, marked with a cross on top, are not only delicious but also steeped in tradition and symbolism. The buns’ aroma, a harmonious blend of spices, citrus, and yeast, fills the kitchen with warmth and nostalgia, making them a cherished favorite among families.
Historical Significance and Cultural Roots
The origin of Hot Cross Buns dates back to medieval England, where they were traditionally baked on Good Friday to mark the end of Lent. The cross on top of each bun symbolizes the crucifixion of Jesus, while the spices inside are said to represent the embalming spices used during his burial. Over the centuries, these buns have become a symbol of Easter celebrations, though their appeal has transcended religious boundaries to become a beloved treat enjoyed by many.
In the 16th century, Queen Elizabeth I reportedly passed a law limiting the sale of spiced buns, including Hot Cross Buns, to funerals, Christmas, and Easter, for fear of their “popish” connotations. Despite such restrictions, their popularity continued to rise, and street vendors in England would famously sing, “Hot cross buns, hot cross buns, one a penny, two a penny, hot cross buns!” as they peddled their wares.

Ingredients that Dance with Delight
The ingredients in Hot Cross Buns are a symphony of flavors that come together to create a magical culinary experience. The dough is enriched with butter, milk, and eggs, resulting in a tender crumb. Raisins or currants stud the buns, offering bursts of sweetness in each bite. The signature spice blend, often including cinnamon, nutmeg, and allspice, adds warmth and complexity to the flavor profile.
Citrus zest, particularly from oranges or lemons, is another essential component. It provides a refreshing contrast to the deep, earthy spices and sweet dried fruit. The cross, usually made from a simple mixture of flour and water, is piped onto the buns before baking, and it serves as both a decorative and symbolic touch.
Crafting the Perfect Bun
Making Hot Cross Buns is an art that requires patience and a touch of love. While the process is not overly complicated, it involves several stages to achieve that perfect balance of texture and flavor. The dough must be kneaded until it is smooth and elastic, a therapeutic process that brings out the best in the gluten, giving the buns their characteristic chewy texture.
Once the dough has risen, it is divided into uniform pieces and shaped into buns. This is where you can let your inner artist shine, ensuring each bun is round and smooth. After a second rise, the buns are adorned with their iconic crosses and baked until golden brown and fragrant. A glaze, often made from apricot jam or sugar syrup, is brushed on while they are still warm, giving them a beautiful, glossy finish.
A Celebration of Tradition and Taste
Hot Cross Buns are more than just a seasonal treat; they are a celebration of tradition, community, and the simple joys of baking. Each bite is a reminder of the rich history and cultural significance behind this humble bun. Sharing them with family and friends strengthens bonds and creates lasting memories.
Whether you enjoy them fresh out of the oven, slightly toasted with a pat of butter, or as part of a festive brunch spread, Hot Cross Buns bring a sense of warmth and comfort to any occasion. As you knead the dough and inhale the intoxicating aroma of spices, you’re not just making a batch of buns—you’re partaking in a culinary ritual that has been cherished for generations. So gather your ingredients, preheat your oven, and embark on a baking journey that promises to be as rewarding as it is delicious.

Hot Cross Buns
Description
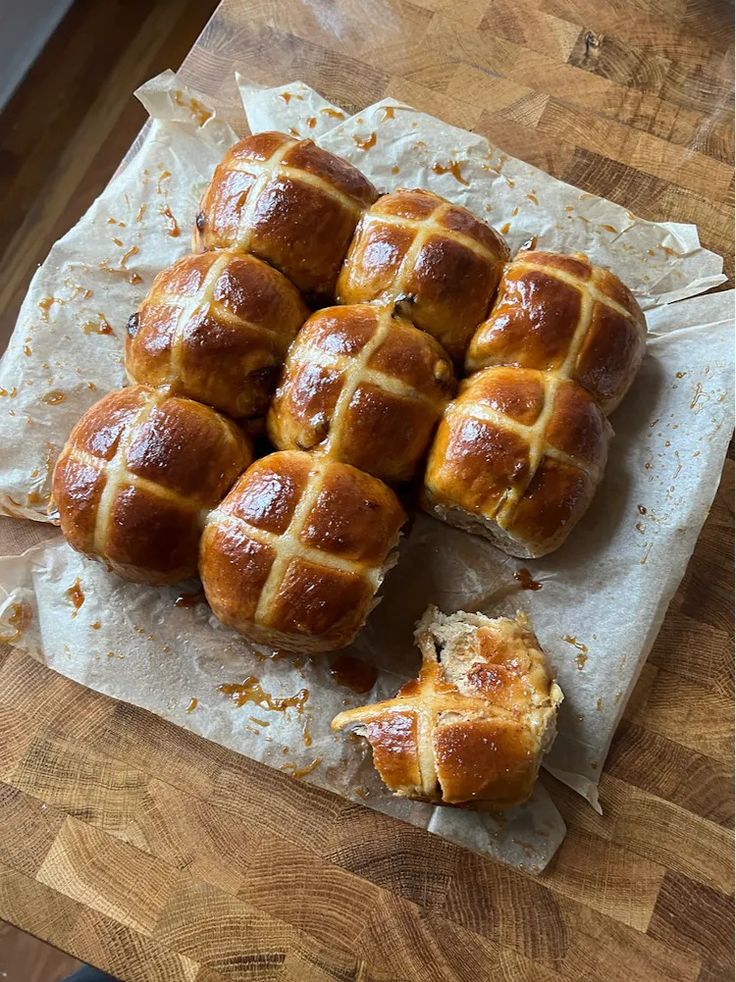
Soft, spiced buns with a cross on top, infused with dried fruits and a hint of cinnamon, perfect for Easter brunch or a cozy afternoon tea.
Ingredients
Dough Ingredients
Cross Paste Ingredients
Glaze Ingredients
Instructions
Preparing the Dough
-
Activate the Yeast
Warm the milk until it's lukewarm, then stir in the sugar and sprinkle the yeast over the top. Let it sit for about 5 minutes until it becomes frothy.Make sure the milk isn't too hot, or it might kill the yeast. Think of it as bath water for a baby—just right! -
Mix the Dry Ingredients
In a large bowl, combine the flour, salt, cinnamon, and nutmeg. Whisk them together to ensure the spices are evenly distributed.Toasting the spices before adding can bring out their flavors—try it for an aromatic boost! -
Create the Dough
In the yeast mixture, add the melted butter, beaten egg, and vanilla extract. Pour this wet mix into the dry ingredients and stir until a dough forms.The dough should be slightly sticky but manageable. If it's too dry, add a splash more milk.
Kneading and Rising
-
Knead the Dough
Turn the dough onto a floured surface and knead for about 10 minutes until it's smooth and elastic.Think of this as a mini workout—your arms will thank you later! -
First Rise
Place the dough in a lightly oiled bowl, cover with a damp cloth, and let it rise in a warm place until it doubles in size, about 1-2 hours.A slightly warm oven (turned off) can be a great place for dough to rise.
Shaping and Second Rise
-
Shape the Buns
Punch down the risen dough and knead in the raisins. Divide the dough into equal pieces and shape them into buns.Try to make the buns uniform in size so they bake evenly. -
Second Rise
Place the buns on a baking tray lined with parchment paper, leaving space between each. Cover and let them rise again for about 30-45 minutes.This step makes them super fluffy—don’t skip it!
Baking and Finishing Touches
-
Preheat and Prepare
Preheat your oven to 375°F (190°C). Mix flour and water to form a paste, then pipe crosses onto each bun.Use a piping bag or a ziplock bag with the corner snipped off for the crosses. -
Bake the Buns
Bake in the preheated oven for 20-25 minutes until golden brown and hollow-sounding when tapped on the bottom.Keep an eye on them in the last few minutes to avoid over-browning. -
Glaze the Buns
While the buns are still warm, brush them with apricot jam or a sugar glaze for a shiny finish.This step locks in moisture and adds a sweet sheen—absolutely worth it!
Note
For optimal flavor, toast the spices briefly in a dry pan before mixing them into the dough. This step releases their essential oils, enhancing the aromatic profile of the buns. When proofing the dough, ensure it's in a warm, draft-free environment; if your kitchen is cool, try placing the bowl in an unheated oven with just the oven light on. For the cross, use a simple mixture of flour and water to create a paste that's thick yet pipeable—this ensures clean, defined lines. For a glossy finish, brush the buns with a simple syrup made from equal parts sugar and water, boiled until the sugar dissolves, right after baking. If you're short on time, consider using a bread machine to knead and proof the dough. For added depth, incorporate a mix of currants and golden raisins, or even a handful of candied citrus peel. If you prefer a less sweet bun, reduce the sugar in the dough slightly—a subtle change that allows the spices to shine.